
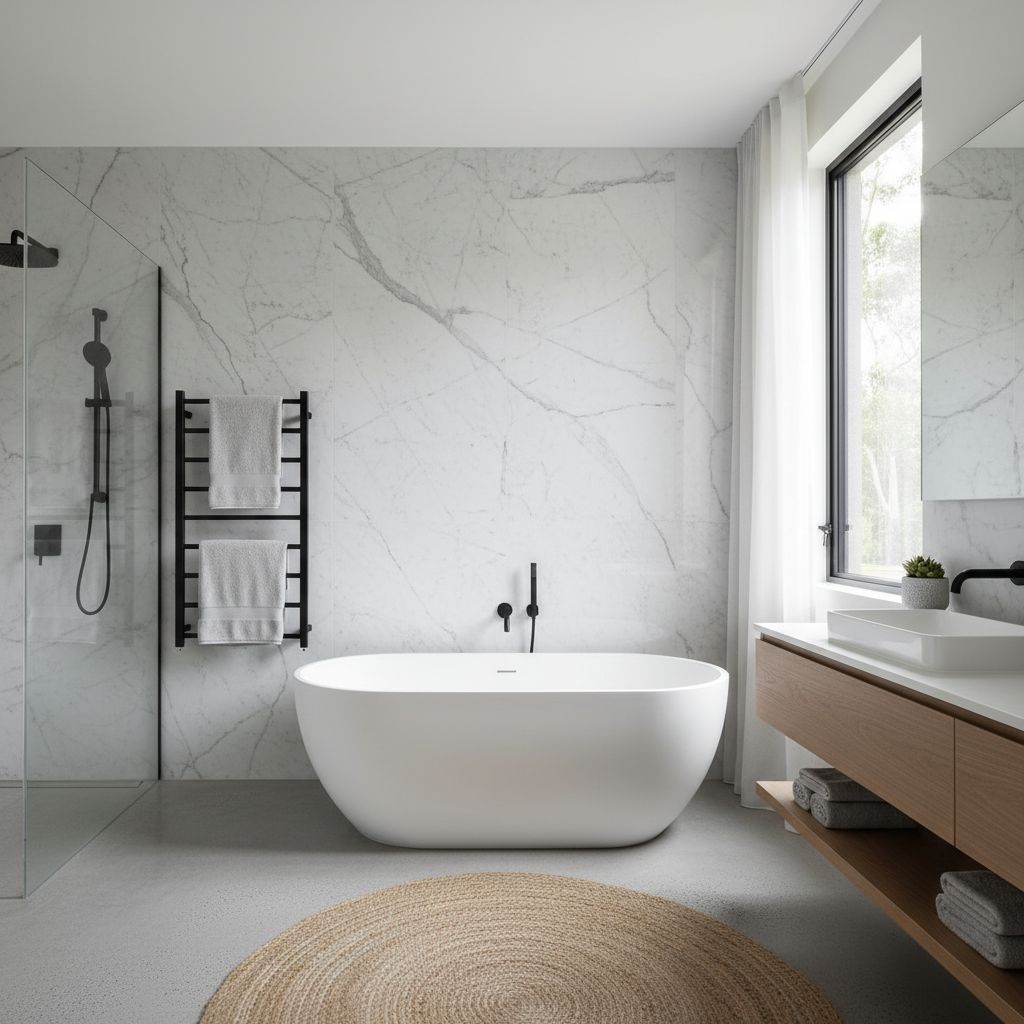
A fixture shortlist becomes useful when every product can be identified and checked against the room. A photograph of a white basin or brushed tap does not tell the plumber its dimensions, the cabinet maker where the waste sits or the supplier which finish to deliver. Before ordering for a Pakenham bathroom renovation, turn the shortlist into a dated product schedule. The schedule should connect each fixture with the surfaces, services and neighbouring fittings it depends on.
Give every selection an exact identity
Record the manufacturer, product name, model code, finish code and quantity. Include a link to the current product page and save the technical drawing with the schedule. Products that look almost identical can have different projections, mounting arrangements or included parts. A model name alone may cover several variants. The order needs enough detail that another person could select the same product without interpreting a mood board or relying on your memory.
Separate confirmed items from preferences. Mark a basin as shortlisted until the cabinet maker and plumber have checked it, rather than allowing its presence in the document to imply approval. Record who needs to review each item. A decorative accessory may only need a location decision, while a concealed tap component needs coordination before the wall is finished. This distinction helps the project team concentrate on choices that affect early construction.
Use one current schedule. Give it a date or revision label and archive older copies clearly. When a decision changes, identify the changed item and tell the people affected. A screenshot sent in a message may be useful during selection, but it should not quietly replace the approved schedule. The trades and supplier need a reliable answer to the question of which exact product is being installed today.
Pair the basin and tap on a drawing
Choose the basin and tap together. Record whether the basin sits above the bench, under it or forms part of the top. Show the basin's internal shape and the tap outlet position in side view. The relationship affects where the water lands and how much space there is for hands. A long spout can be useful with one basin and awkward with another. Have the supplier and plumber review the pairing rather than selecting the pieces independently because their finishes match.
For a wall-mounted tap, the finished wall and basin position are especially important. The product drawing needs to be coordinated with the wall build-up and the cabinetry. For a bench-mounted mixer, check the hole arrangement, the space behind the basin and whether the handle can move fully without meeting the splashback. The installation details are for the trades to resolve, but the homeowner can ensure the complete product information reaches both of them before work proceeds.
Check the basin waste requirements and the parts included in the purchase. Some products are supplied as a set; others require separate compatible components. Ask the plumber to confirm the combination, including any overflow arrangement. Do not assume a waste selected for its colour will suit every basin. The existing vanity installation guide explains why these choices must be coordinated with the cabinet interior and plumbing positions.
Check the vanity as an assembly
A vanity order should identify the cabinet, top, basin, handles and any supplied splashback. Confirm whether the displayed price or product listing includes all those components, without assuming that a showroom arrangement is sold as a single package. Record the selected basin position and drawer arrangement. A central basin and an offset basin can require different cabinet interiors even when the outside dimensions are the same.
Ask which measurements depend on the finished room. A custom top may need a later site measure, while the cabinet itself could be manufactured from an earlier approved drawing. Identify who coordinates those steps. Wall alignment, fillers and end panels should be shown in the relevant cabinet drawing. A cabinet that nominally fits between two walls still needs an installation approach that deals with the actual space.
Confirm service access and storage together. A deep drawer looks useful until the waste occupies its centre; a fixed shelf may obstruct access to a serviceable component. Ask for the internal layout and review it against the household's storage list. Record removable parts and care instructions for the handover folder. The storage planning guide helps you assess usable capacity without relying only on the vanity's advertised width.
Compare baths by their usable shape and access
Bath dimensions need more interpretation than overall length. Look at the internal bathing space, rim shape and the way the back supports a seated user. Where a showroom permits it, assess a stable display bath in accordance with the staff's instructions. Alternatively, ask for section drawings and compare them with a bath you already find comfortable. Two products with similar outside dimensions can feel quite different inside.
Consider the space around a freestanding bath. It needs a sensible approach and a way to reach adjacent surfaces for cleaning. A bath that fills almost the entire recess can leave a narrow inaccessible gap. A built-in or back-to-wall arrangement may suit that location better. Show the bath beside the shower screen and cabinet, including tapware and handles, so the whole room is checked rather than fitting the bath into an otherwise empty plan.
Give the plumber the exact bath and waste information, and ask the renovator to assess support and access requirements. This is particularly important where the proposed location or floor differs from the existing arrangement. Do not infer suitability from the fact that another bath was previously there. Record how the installation will allow the relevant components to be accessed in future, and keep that information with the product instructions.
Select the toilet with the plumbing and room together
The toilet's appearance is only part of the selection. The plumber needs to confirm that the product suits the existing or proposed connections and the available space. Supply the technical drawing before ordering. A replacement model can differ in its rear profile, projection and connection arrangement even if it is described in the same broad style. Treat a supplier's compatibility claim as something for the plumber to confirm against your room.
Think about use and cleaning. Check the seat shape, the way the lid and seat operate, and how the surfaces around the pan will be reached. Identify any supplied seat model and its replacement process. A concealed cistern introduces a separate question about future access, so ask the installer to explain the designed service opening. Record the exact cistern and flush plate as well as the visible pan; they may be separate products.
Draw the toilet beside the room door, shower opening and any towel rail. A product that fits the plumbing can still make movement awkward. Discuss individual access needs with the appropriate professional before selecting a model. Keep the product schedule focused on confirmed fit and practical use, without assuming that a particular sales label establishes accessibility. The accessible bathroom service page provides the wider project context for that conversation.
Resolve shower fittings and accessories before walls close
List every part of the shower arrangement, including the fixed head, handheld set, hose, rail, mixer and any diverter. Ask which concealed components belong to the selected system and whether they are included. A decorative trim selected late may not match a concealed body already installed. The plumber should review the complete system while the necessary product options can still be coordinated.
Record the intended use of the handheld shower. It may be for ordinary showering, assisting another person or cleaning the enclosure. That description helps the trades consider controls, hose position and the screen arrangement. Check that a rail, handle or shelf does not occupy the same part of the wall. The shower screen guide helps you prepare the related opening and splash questions before the final locations are approved.
Accessories deserve a proper schedule too. Name the towel rails, hooks, toilet roll holder and shelves, with their finishes and intended positions. Show them on the elevations so backing and fixing can be planned by the project team. Avoid treating late accessory installation as a reason to drill experimentally into a completed wet area. Ask the renovator to confirm appropriate fixing and waterproofing coordination, particularly where an accessory is near the shower or concealed services.
Agree who orders, receives and approves substitutions
For every product, name the purchaser and delivery destination. Confirm who checks the order against the schedule and who records damage or missing parts. A household purchasing fixtures directly needs to understand the renovator's requirements for delivery timing, storage and product information. Agree those responsibilities before ordering. A box arriving at the house does not mean the correct item is ready for installation.
Ask the supplier to confirm availability for the exact variant. A display sample or a broad product listing is not a delivery commitment. Where an item is unavailable, assess a substitute against the actual interfaces: dimensions, connections, fixing, finish and included parts. Do not approve it solely because it looks similar in a photograph. A revised tap projection or cabinet depth can affect other already selected components.
Hypothetical example: a chosen basin is unavailable and the supplier offers another with the same outside width. Its bowl sits farther forward and its waste is offset. Before accepting it, the household has the plumber and cabinet maker recheck the tap relationship and drawer layout. The substitute may be suitable, but the decision is made from the drawings. Keeping that review in the schedule avoids discovering the difference only when the cabinet and top arrive.
Release the order from one coordinated record
Before the final orders are released, review each room elevation with the current product schedule beside it. Confirm which details have been checked by the plumber, electrician, cabinet maker and glass supplier. Ask the renovator to identify any unresolved dependencies. An item marked pending is not a failure in the document; it is a visible decision that still needs an owner. The problem is an unresolved choice presented as final.
Retain the agreed product information in a format that can be accessed later. Save the technical drawings and care documents as well as the web links, because online product pages can change. Keep order confirmations separate from the final installed schedule if substitutions occur. Mark what actually arrived and was fitted. This turns the selection effort into a useful starting point for the bathroom handover folder.
At installation and handover, compare the visible product identities and finishes with the approved record. Ask questions about differences before discarding packaging or labels. Photograph accessible model labels where appropriate without dismantling anything. The aim is a bathroom whose parts work together and can be identified later. A coordinated specification reduces guesswork at every stage, from the first plumbing discussion to replacing a seat, cartridge or handle years after the renovation.
Your planning checklist
Fill the remaining specification gaps before releasing orders. Tick each item when you have an answer written down. This checklist stays on this page and sends nothing.
0 of 5 decisions recorded. Fill the remaining specification gaps before releasing orders.